Bridge ETH between Ethereum and Linea
We recommend that only tech operators that are providing liquidity use Linea's native bridge to transfer ETH.
For everyday bridge transfers, we recommend you use the MetaMask Portfolio bridge, which aggregates bridging options across Linea and shows you the best rates. Alternatively, use one of the third-party bridges available to users. :::
The native Linea bridge allows you to claim your bridged funds manually, or automatically:
-
Manual claiming Requires two transactions to be approved. One on the source layer to initiate the bridging process and the other on the target layer by the recipient to receive the funds, which we call "claiming". This means, to receive the funds, the recipient has to pay a fee on the target layer.
-
Automatic claiming Requires one transaction to be approved on the source layer. The recipient will automatically receive their funds because a "postman" will handle the claiming process for them.
Transfer ETH using Linea's native bridge
This is a step by step guide to bridging ETH between Ethereum Mainnet (L1) to Linea (L2).
If you would like to bridge between Linea and other networks, we recommend you use one of the third-party bridges available via MetaMask Portfolio.
Bridge ETH from Ethereum (L1) to Linea (L2)
Please use the automatic claiming option the first time you bridge ETH from L1 to L2. Manual claiming requires you to have L2 ETH available to pay for the fees.
If you don't have enough L2 ETH to cover the fees, your bridged funds will be stuck on the bridge until you can cover the fees.
Automatic claiming
-
Go to the bridge here.
-
Connect your wallet in the top-right corner of the page.
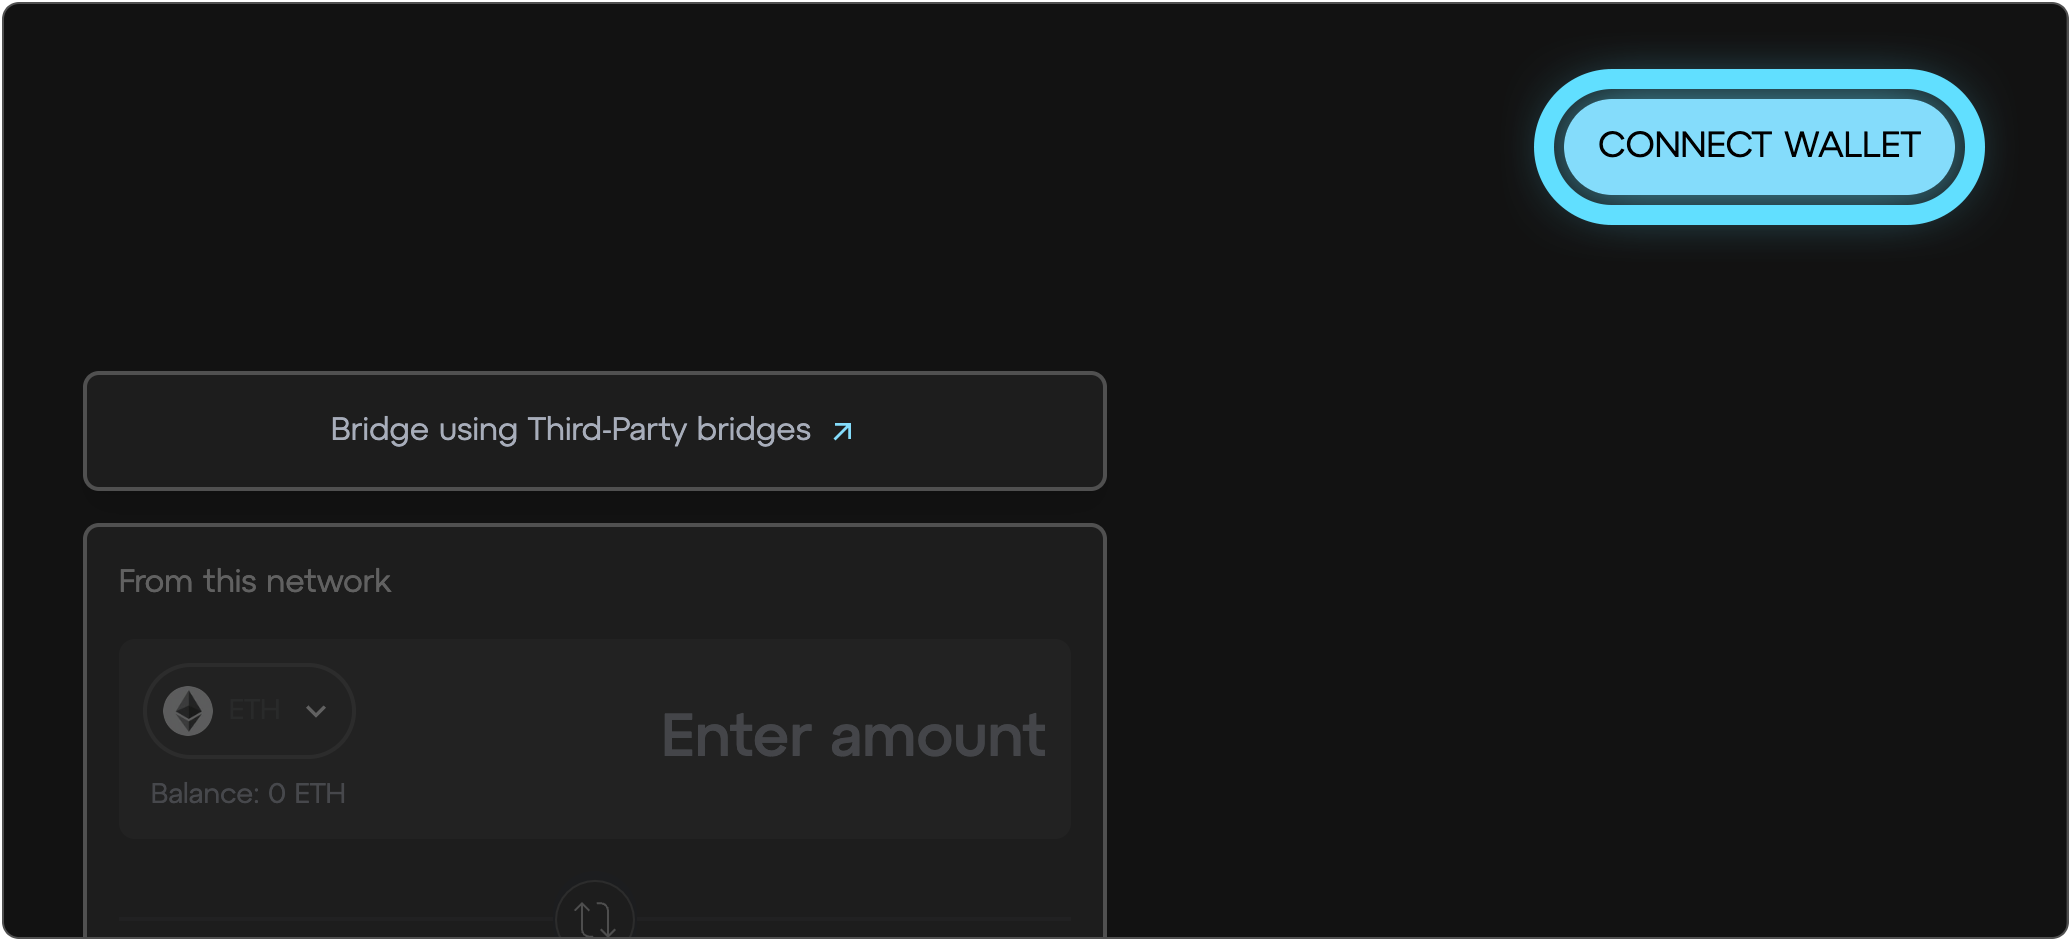
- Verify that the bridge is set to Ethereum → Linea Mainnet and that automatic claiming is enabled.

- Enter the amount of ETH you want to bridge over to Linea Mainnet, and click the “Bridge” button.

- MetaMask will pop up asking you to confirm the transaction.
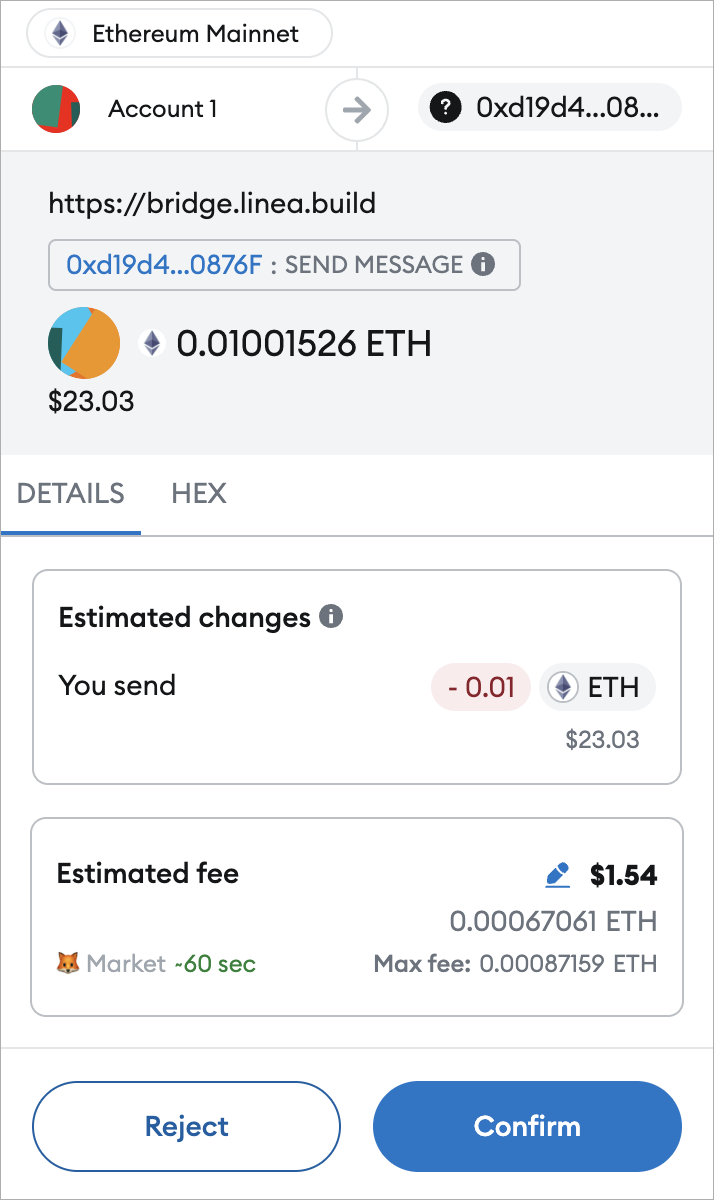
- After confirming the transaction, it should take around 20 minutes for the transaction to reach Linea Mainnet. You can see your pending transaction under the "Transactions" tab.

- When your transaction is complete, it should say "Complete" and your ETH should be on Linea Mainnet.

- You can see your Linea account balance in MetaMask once you switch to the Linea network. You can also check it on Lineascan. Just replace the account address in the URL with your account address and it should reflect your account's balance.
Manual claiming
-
Go to our token bridge here.
-
Connect your wallet in the top-right corner of the page.

- Verify that the bridge is set to Ethereum → Linea Mainnet, and that manual claiming is enabled.

- Enter the amount of ETH you want to bridge over to Linea Mainnet, and click the "Bridge" button.

- MetaMask will pop up asking you to confirm the transaction.

- Once confirmed, head to the "Transactions" tab in the sidebar. Here you'll see your transaction labelled "Pending" until it is ready to claim. When it is ready, it will change to "Ready to claim".

To claim, click on the transaction to open its details, then click "Claim".

- MetaMask will prompt you to switch networks and confirm the transaction from the previous step.
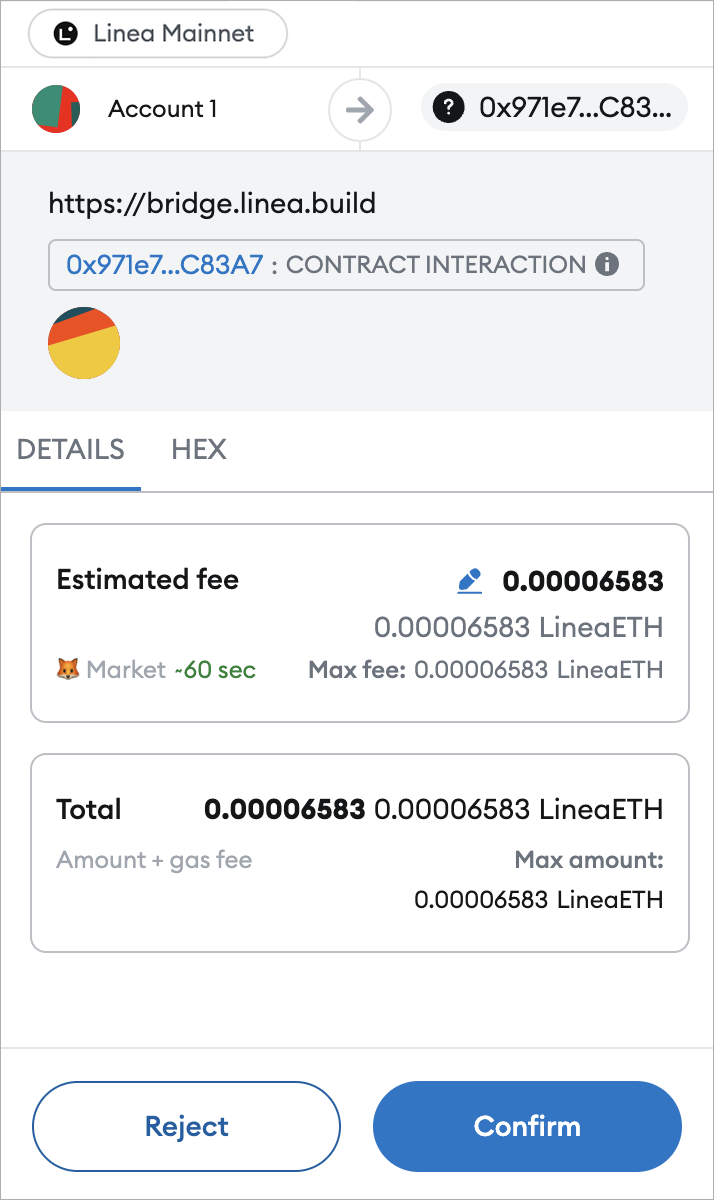
- Under the "Transactions" tab, your transaction should now be marked as "Complete" and your ETH should be on Linea Mainnet.

- You can see your Linea account balance in MetaMask once you switch to the Linea network. You can also check it on Lineascan. Just replace the account address in the URL with your account address and it should reflect your account's balance.
Bridge ETH from Linea Mainnet (L2) to Ethereum Mainnet (L1)
Automatic claiming is only available for bridging ETH from L1 to L2. You will not be able to select this option for L2 to L1 bridging.
-
Go to the bridge here.
-
Connect your wallet in the top-right corner of the page.

- Verify that the bridge is set to Linea Mainnet -> Ethereum. Manual claiming is the only available option for L2 to L1 bridging.
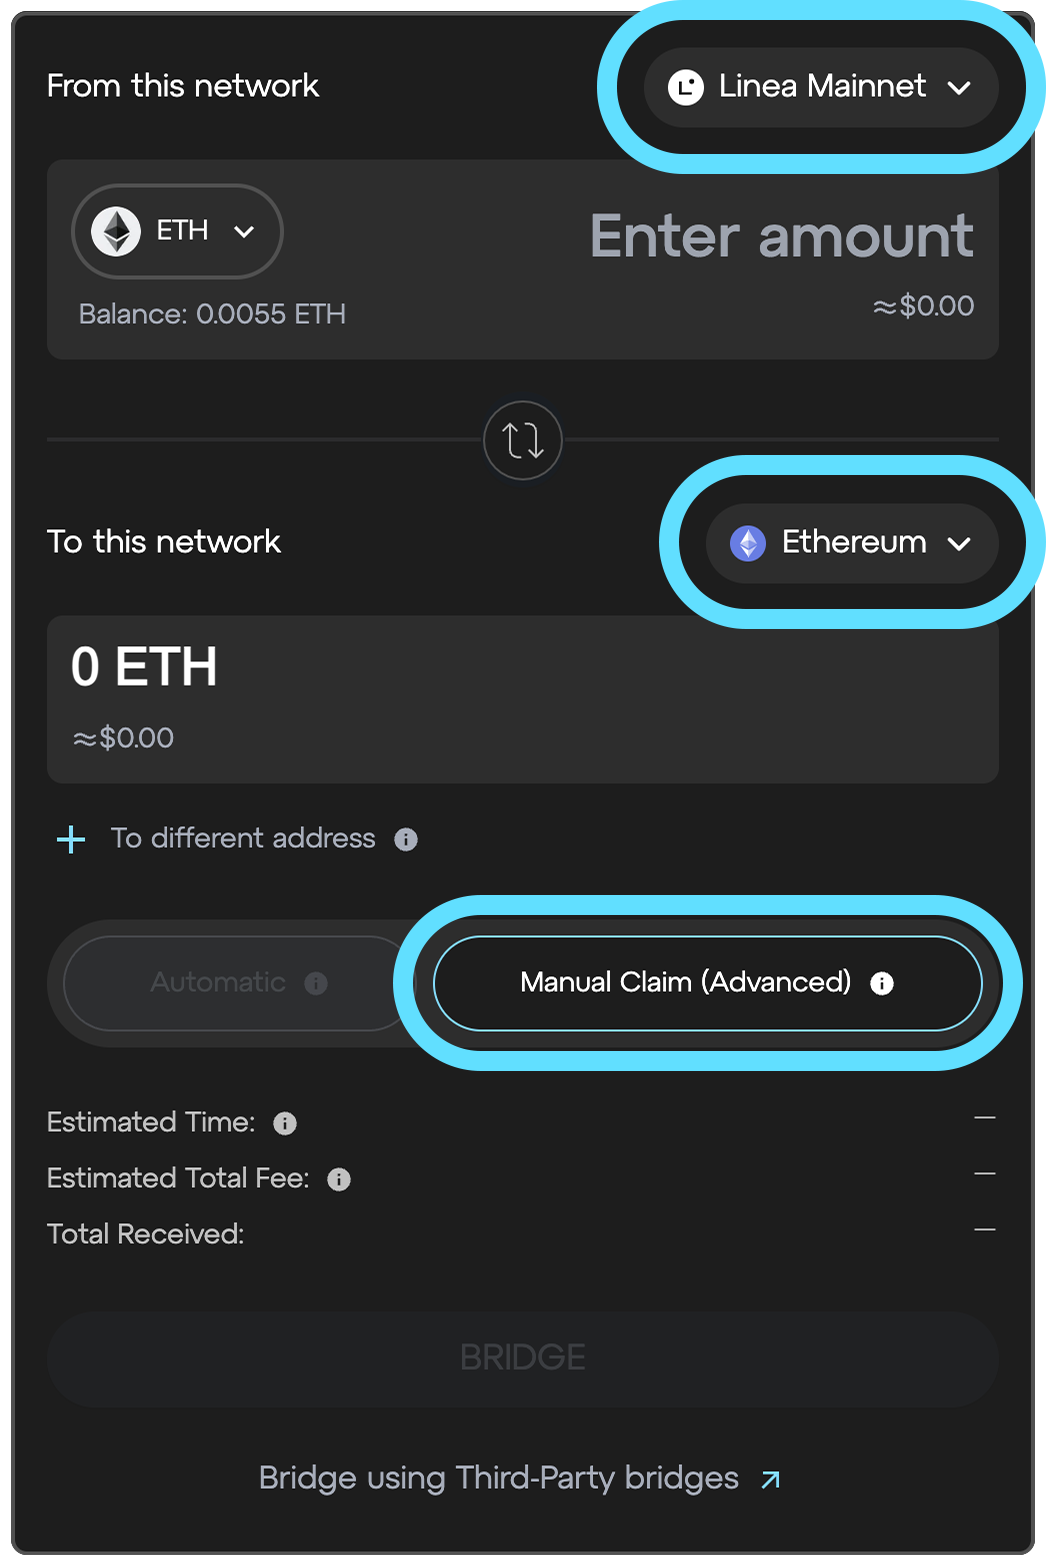
- Enter the amount of ETH you want to bridge over to Ethereum Mainnet, and select the "Bridge" button.
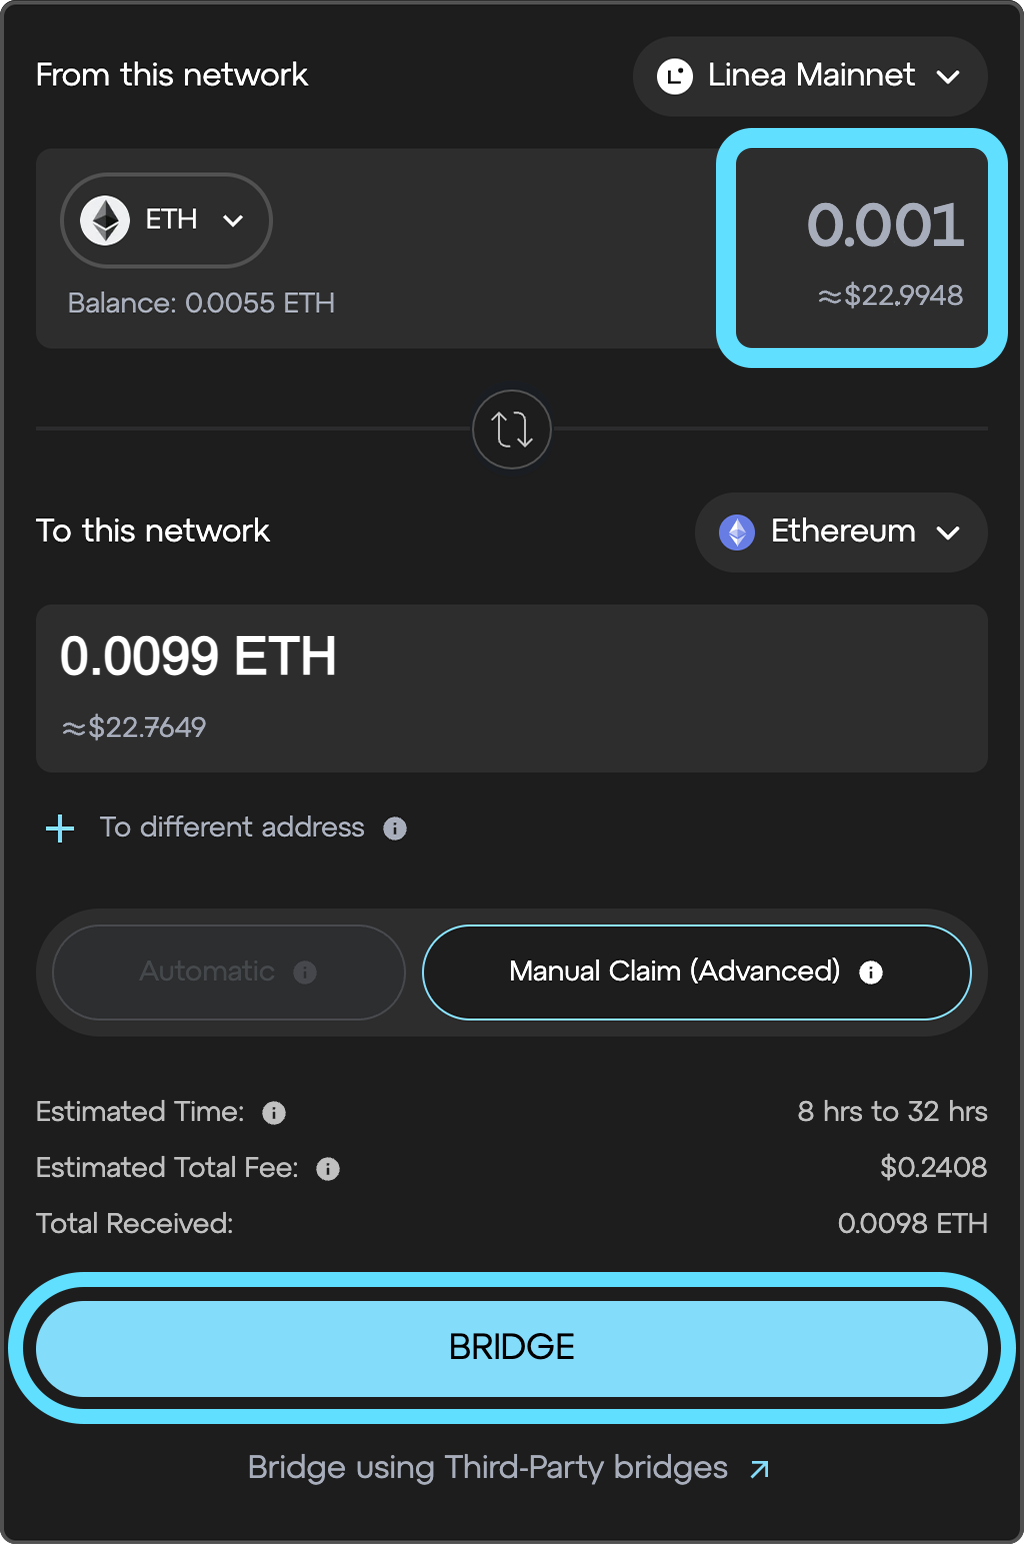
- MetaMask will pop up and ask you to confirm the transaction.
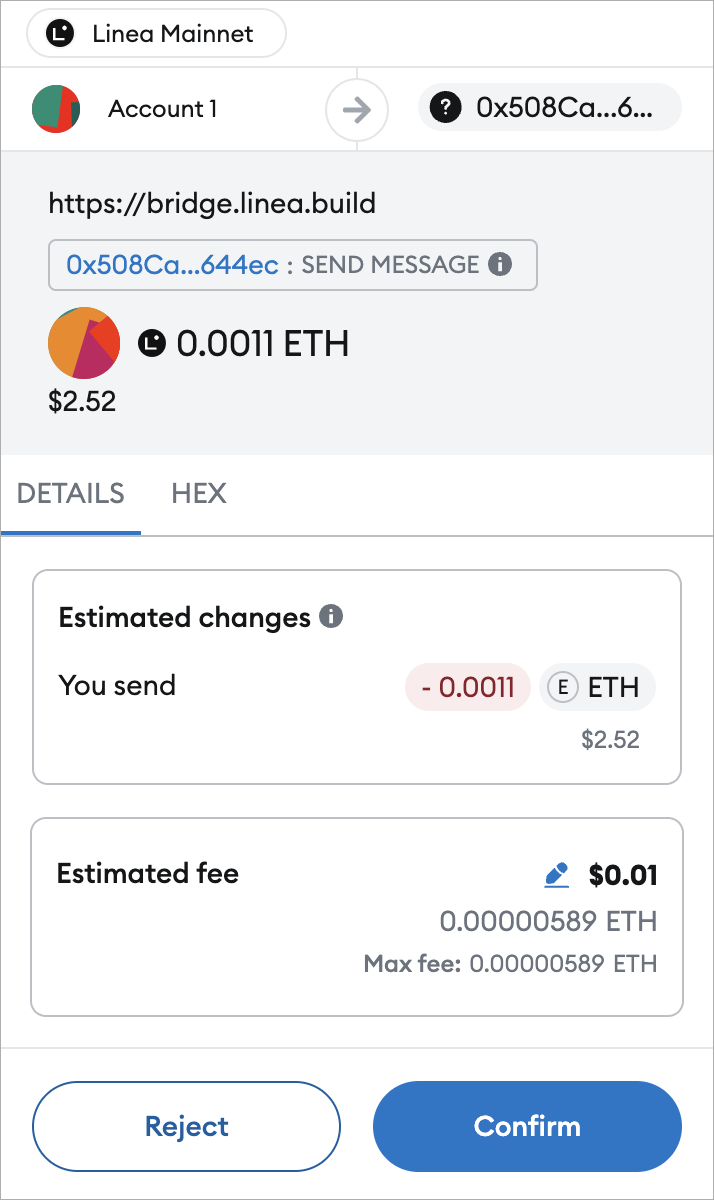
- The pending transaction will show up in the “Recent transactions” section of the bridge. It takes at least 8 hours for the transaction to go through from L2 to L1.

- Once confirmed, head to the "Transactions" tab in the sidebar. Here you'll see your transaction labelled "Pending" until it is ready to claim. When it is ready, it will change to "Ready to claim". To claim, click on the transaction to open its details, then click "Claim".

- MetaMask will ask you to switch networks and to confirm the transaction from the previous step.

- You're done! You can check your Ethereum account balance in MetaMask, or on a block explorer such as Etherscan.